
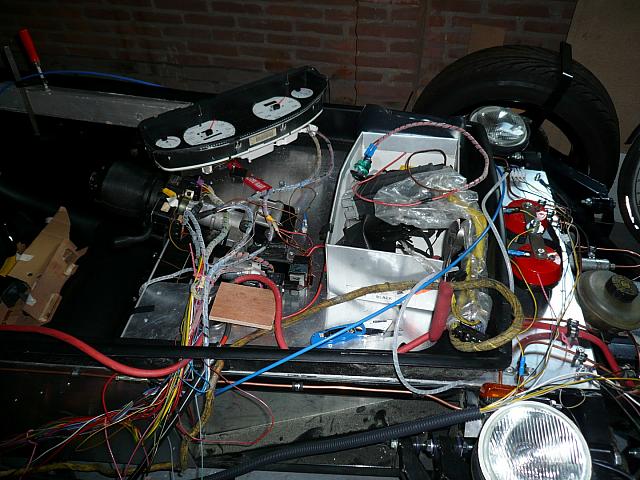
 It’s back breaking work but at last I have started on the loom. I spent a good few hours preparing and then started on the rear loom. This is now finished and I need to move on to the front, and then the engine and computer loom.
Preparation involved going through all of the Haynes diagrams, checking them for faults and noting all the wire colours, thickness’s, components and connectors in Excel. I could then look up on colour connector or component and cross reference everything. Sounds a bit over the top but believe me it helped. From the rear wiring loom I have now removed the rear wash wipe, rear washer, boot light and rear demist. With the excel sheet I could check, double check, then end to end test and finally remove the cable. I also took the time not just to remove the wire by cutting at both ends, but I actually removed the connector from the plug in the fuse box, the fuse itself and the entire cable from the loom. This was messy and difficult but well worth the effort, my rear loom is now half as thick and ready for use.
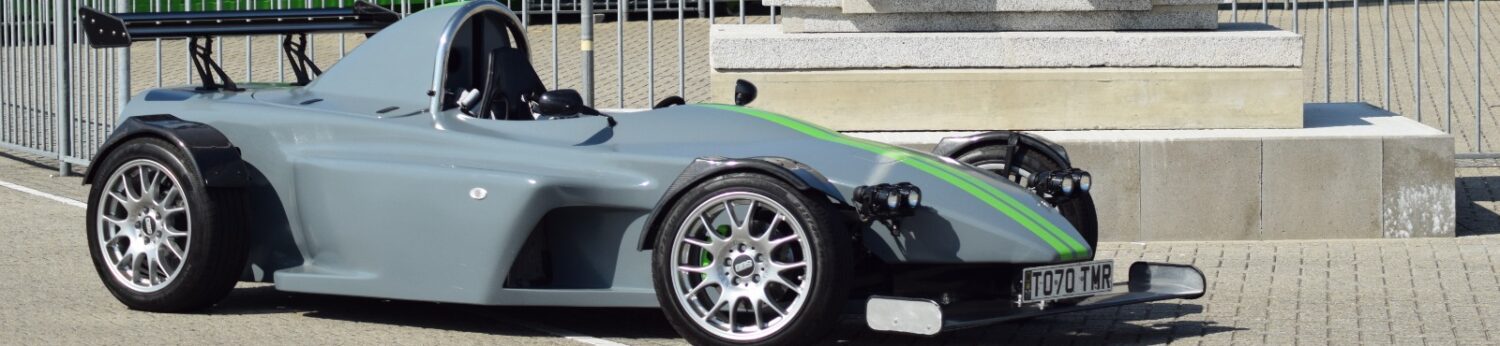
I decided to do the loom now for two reasons, the weather is not best so working outside on the bodyshell did not entice me and secondly before I rivet the side panels and footwell roof in place I can get a lot easier access to the components to check the loom.