
With car now rolling on its own I tackled the next batch of jobs;
- Handbrake
- Brake Lines
- Temporary exhaust
- Body Cut outs
- Cooling
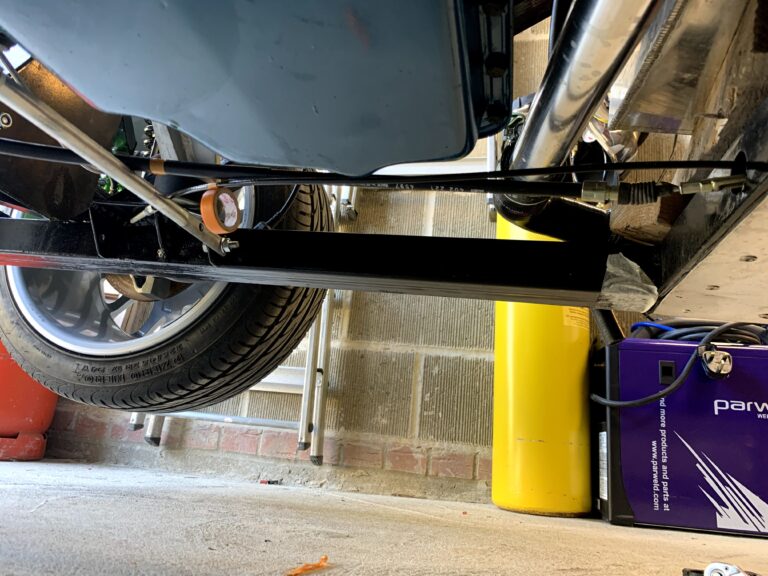
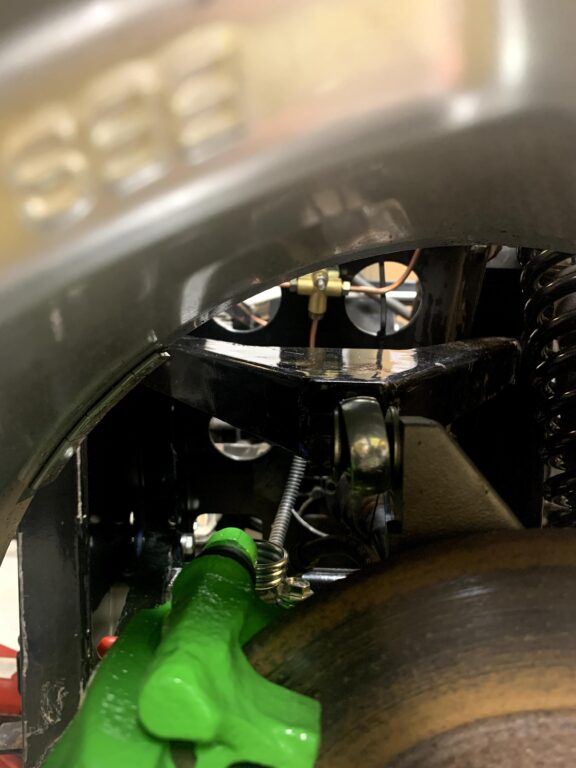
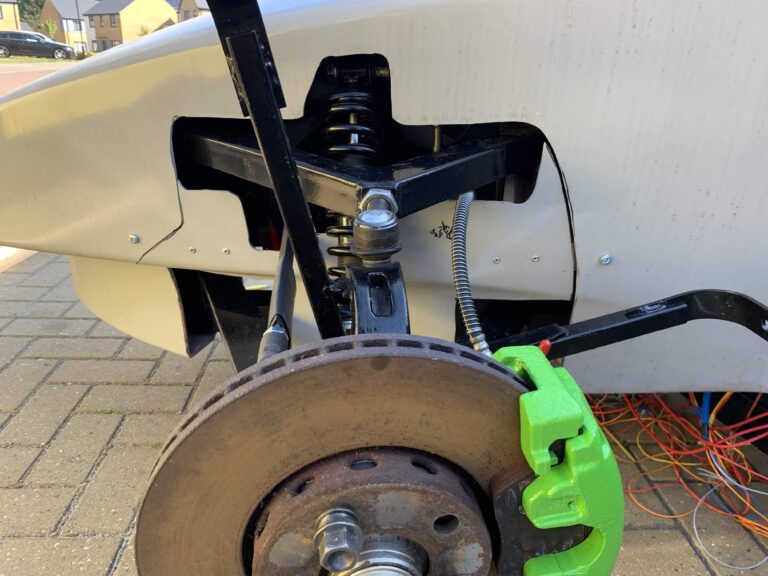
First the handbrake; this is quite simple as it utilises a shortened left hand rear cable and a standard right hand cable, a kit supplied front section and a sierra/fiesta handbrake… or rather the kit was designed for this. In the previous kits I found the handbrake to be low on mechanical advantage, and felt flimsy. This was rectified by using a VW T5 handbrake, which feels much better and also has an increased mechanical advantage and built-in handbrake light switch. The front cable is standard VW item, shortened by SpeedyCables. This hooks into the standard Audi splitter and then onto the kit issued rear brake cables. From the last test I also had an issue with the handbrake brace bar that runs across under the engine flexed when I applied the handbrake, so strengthening was added in preparation for this eventuality.
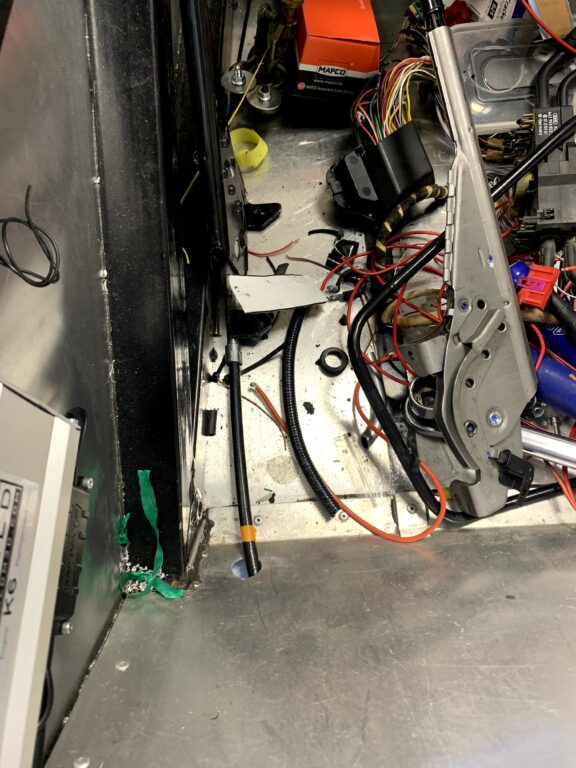
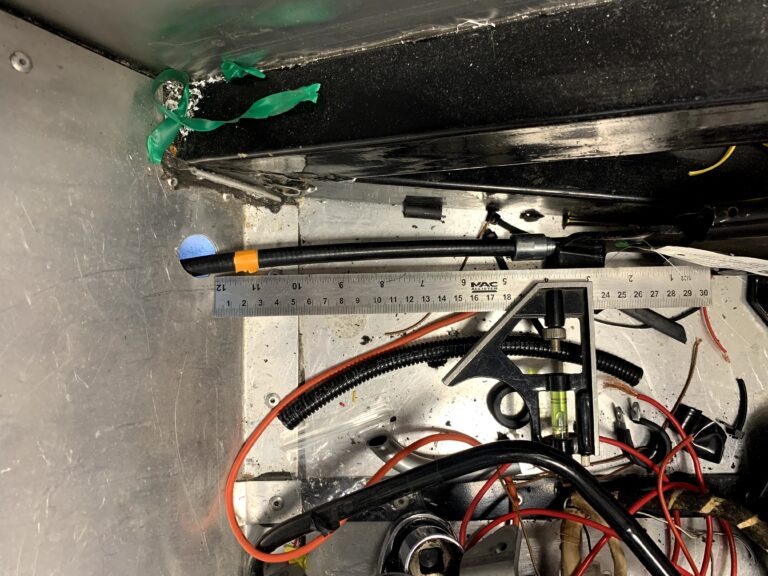
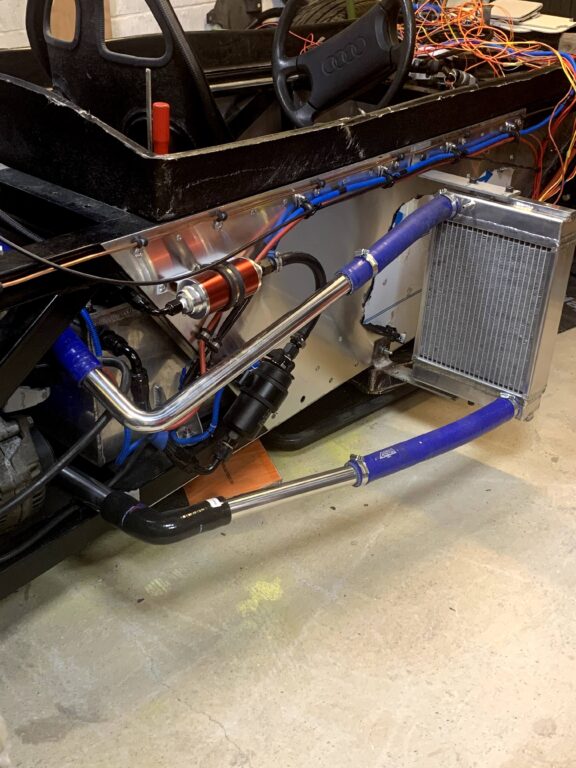
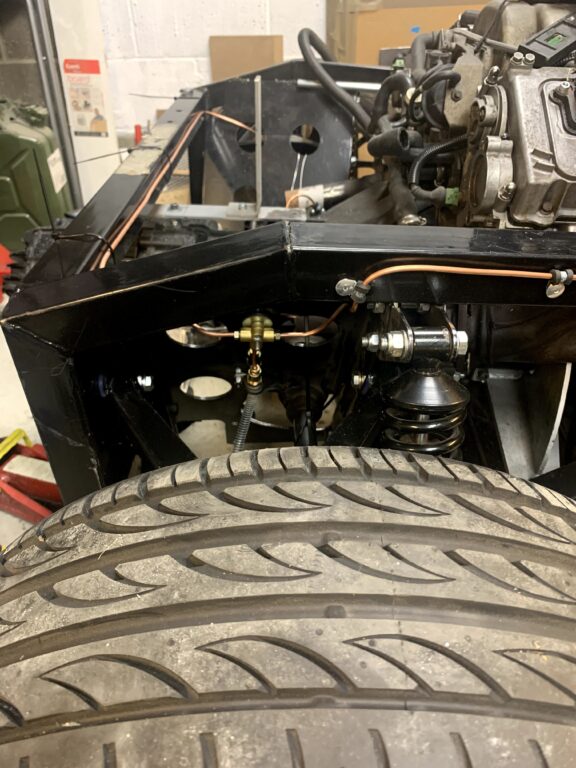
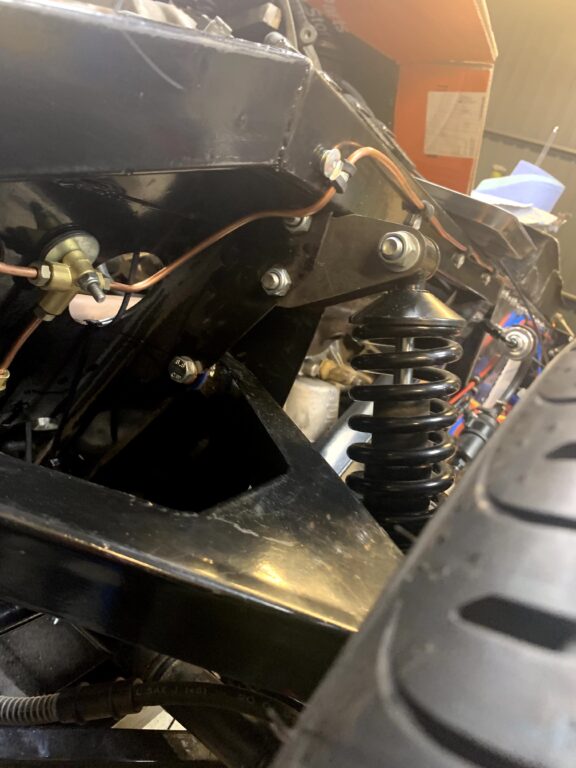
With the handbrake fitted and working I ran the hydraulic lines for the clutch and brakes. The master cylinder for the brakes is a standard front/rear split system with the calliper piston size dictating the braking balance front to rear. Previously I have run two brake lines to the rear, one per side, this time I ran a single line up the right hand side and passed this through a T-Piece by the right hand wheel, extending across to the left line. The front are split on the front bulkhead and then routed left and right to the front wheels. The clutch line runs up the left hand side of the car to a flexible hose leading to the slave cylinder.
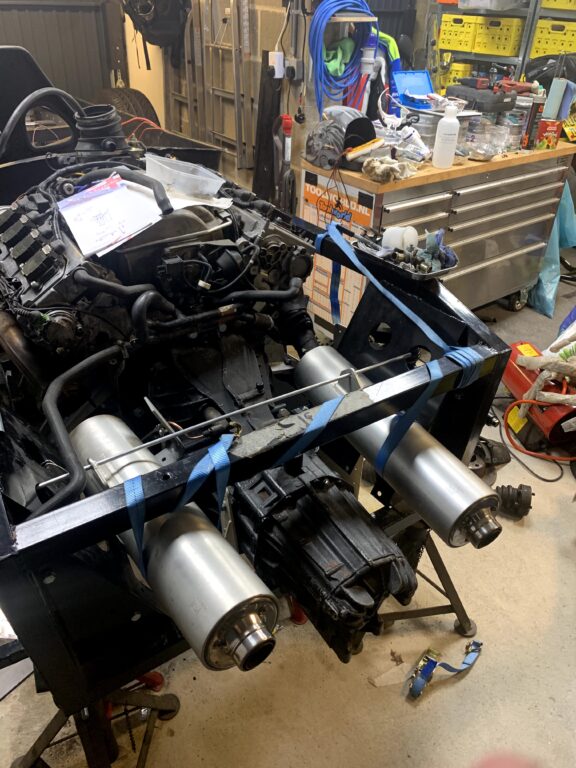
I had the original exhaust from my motorbike and managed to pick up a cheap one from the internet, this gave me a redneck solution to allow running the car up without running an open pipe and deafening everyone!
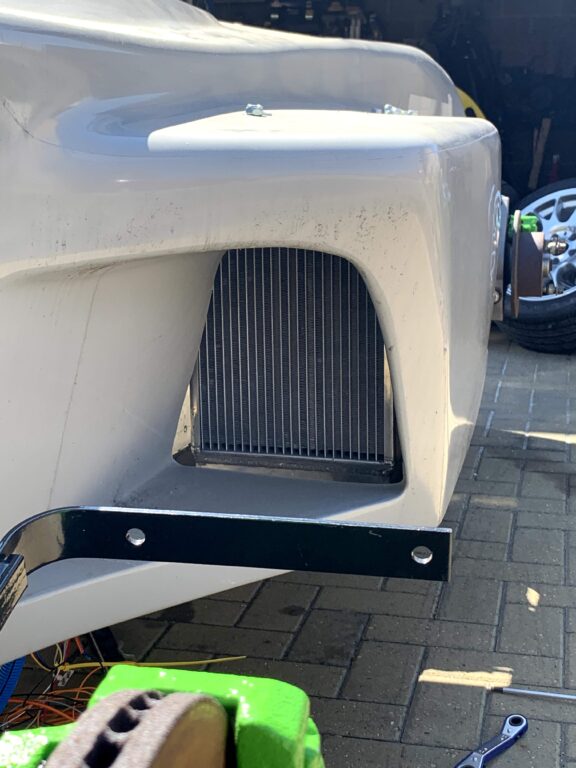
Exhausts, brakes, handbrake etc all in place it was time to get the body over the suspension components. This is an all day job as the measuring and cutting takes forever, and to best measure the cut outs remove the suspension components, drop the body over and remeasure then cut. The photos below are from the first cuts, rolling the car around showed where more needed to be trimmed off ending up with the final cuts. IT is possible to make the suspension apertures with large open areas, but I prefer using closing panels to keep the body rigid but to also reduce the chasm in the side of the bodyshell.
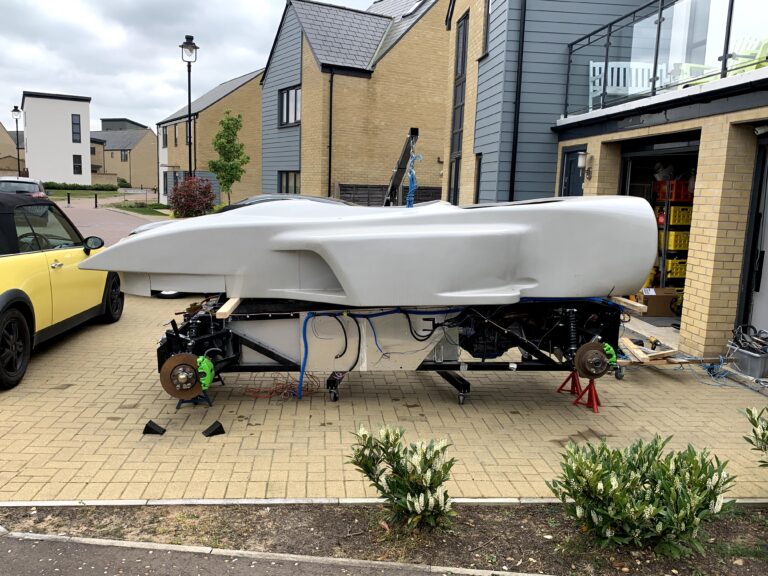
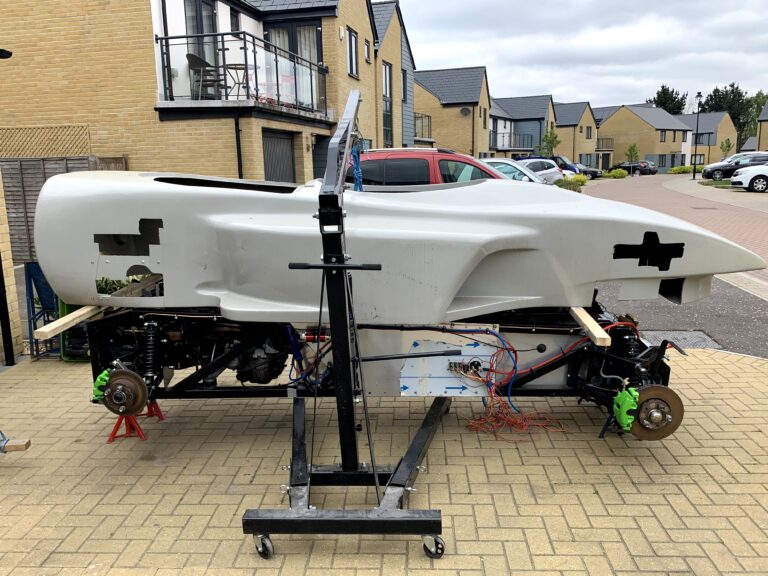
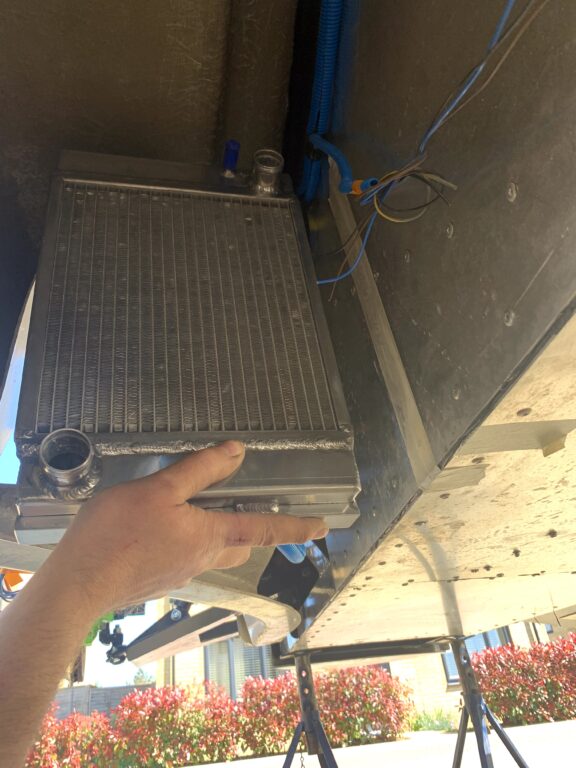
With the body draped over I could start work on radiator positioning and check for hose and cable routing that it will all clear the body shell. At the end of the day I removed the bodyshell and placed it back in the garden, happy that all measurements had been made and I could continue with the work on the chassis.