

In the previous post I showed you how to connect two Arduinos and to request and receive the button state from the slave using I2c. When I said I showed you how, I off course mean I gave you a picture and some code and left you to work it out 🙂
The next stage is to start doing something with this information because at present showing it in the serial monitor although handy for showing it works, doesn’t mean the units can run alone. Today I’m going to start by toggling LED’s connected to the master on or off dependent on the button state.
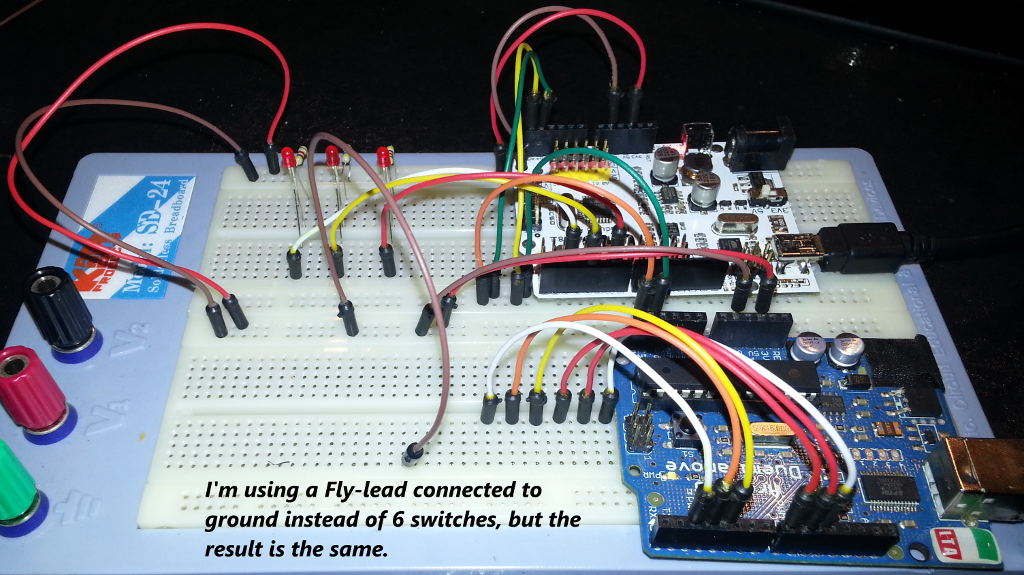
The theory is that when a button is depressed the LED will go on, when the button is released the LED will stay on until the off button is depressed. I will pair the buttons 1 and 2, 3 and 4 and 5 and 6 as on/off pairs. In the slave code from Part one you you can see this is going to be in/outs pins 2 & 3, 4 & 8 and 9 & 10 on the slave Arduino, although you can update the code to use different pins as you wish.
We will only need to change the master code for now as the LED’s will be attached here.
First define our outputs, and again I will use an array for this. We also add a generic counter for our For loops and an array to track the LED status; this I’ll come back to later on.
[php]
…
int led[3] = {2, 4, 6}; // LED outputs
int ledstate[3] = {0,0,0}; // Used to track LED status
int counter;
…
[/php]
Now in the Setup section of the code we need to set the pins as outputs and set them low, or off. Although not strictly necessary I do it as a matter good programming.
[php]
…
for (counter = 0 ; counter <= 3 ; counter++) // Run from 0 to 3 and set pin modes for LED and set them low
{
pinMode(led[counter], OUTPUT);
digitalWrite(led[counter], LOW);
}
…
[/php]
The code will work at this stage and switch the LED’s all off and setup the output pins but now we need to get the buttons to turn the LED’s on or off. The first change is to remove the information we send to the serial monitor and instead to store the button state, hence the new array we added above; buttonstate[6]. Buttonstate is updated in the bytes_to_int routine but to make sure we update the correct value in the array we pass a new variable between the separate subroutines. In the loop routine we add the counter value to the i2c_communication subroutine call, which we also have to add to the sub-routine declaration, and again in the last routine bytes_to_int.
[php]
…
void loop() {
// Retrieve button values from slave 1
for (int counter = 0; counter <=5; counter++){
i2c_communication(button[counter], SLAVE1, counter);
}
delay(500);
}
void i2c_communication(byte request, int slaveID, int counter) {
Wire.beginTransmission(slaveID);
Wire.write(request);
Wire.endTransmission();
delay(1);
Wire.beginTransmission(slaveID);
Wire.requestFrom(slaveID,2,true);
// Wire.endTransmission();
for (int i = 0; i < 2; ++i) {
rcv_bytes[i] = Wire.read();
}
bytes_to_int(rcv_bytes, counter);
}
void bytes_to_int(byte b[2], int counter) {
buttonstate[counter] = (b[0] << 8) + b[1];
}
[/php]
Again this code will work fine, but we haven’t yet reached the part where we switch the LED’s on or off. To do this we now have to look at the buttonstate variables and switch the LEDs on or off. I’m going to split this into two steps, one that sets the variable ledstate to 1 or 0 and another that switches the LEDs on or off dependent on the value stored in ledstate.
[php]
…
if (buttonstate[0] == 1) ledstate[0] = 1;
if (buttonstate[1] == 1) ledstate[0] = 0;
if (buttonstate[2] == 1) ledstate[1] = 1;
if (buttonstate[3] == 1) ledstate[1] = 0;
if (buttonstate[4] == 1) ledstate[2] = 1;
if (buttonstate[5] == 1) ledstate[2] = 0;
if (ledstate[0] != 0) {
digitalWrite(led[0], HIGH);
} else {
digitalWrite(led[0], LOW);
}
if (ledstate[1] != 0) {
digitalWrite(led[1], HIGH);
} else {
digitalWrite(led[1], LOW);
}
if (ledstate[2] != 0) {
digitalWrite(led[2], HIGH);
} else {
digitalWrite(led[2], LOW);
}
…
[/php]
The above code will look at the buttons, set the values and switch the LED’s on or off. If you hold the on and off button in, the second if command will override the first and the LED will stay off.
Just to give you practice with counter variables and loops we can change the last group of if/else statements into a loop and use the switch/case command.
[php]
…
for ( counter=0; counter <=2; counter++){
switch (ledstate[counter]){
case 0:
digitalWrite(led[counter], LOW);
break;
case 1:
digitalWrite(led[counter], HIGH);
break;
}
}
…
[/php]
…and finally as we are not using the serial monitor we can set the delay to 100ms to increase the response time to button pushes. The code below is the entire master code with the cut down delay timer included.
[php]
//
// Mastercode to be used with Slave_I2C
//
// Tim Russell
// www.russellweb.eu
// Twitter: timr1972
//
#include
#define SLAVE1 0x0A
int button[6] = {0,1,2,3,4,5}; // Used to provide the numbers we send through to the slave
int buttonstate[6] = {0,0,0,0,0,0}; // Used to track the button state
int ledstate[3] = {0,0,0}; // Used to track LED status
int led[3] = {2, 4, 6}; // LED outputs
int counter;
String message;
byte rcv_bytes[2];
int draw;
//SoftwareSerial mySerial = SoftwareSerial(13, 13);
void setup() {
pinMode(13, OUTPUT);
Serial.begin(115200);
Wire.begin();
for (counter = 0 ; counter <= 3 ; counter++) // Run from 0 to 3 and set pin modes for LED and set them low
{
pinMode(led[counter], OUTPUT);
digitalWrite(led[counter], LOW);
}
}
void loop() {
// Retrieve button values from slave 1
for (counter = 0; counter <=5; counter++){
i2c_communication(button[counter], SLAVE1, counter);
}
if (buttonstate[0] == 1) ledstate[0] = 1;
if (buttonstate[1] == 1) ledstate[0] = 0;
if (buttonstate[2] == 1) ledstate[1] = 1;
if (buttonstate[3] == 1) ledstate[1] = 0;
if (buttonstate[4] == 1) ledstate[2] = 1;
if (buttonstate[5] == 1) ledstate[2] = 0;
for ( counter=0; counter <=2; counter++){
switch (ledstate[counter]){
case 0:
digitalWrite(led[counter], LOW);
break;
case 1:
digitalWrite(led[counter], HIGH);
break;
}
}
delay(100);
}
void i2c_communication(byte request, int slaveID, int counter) {
Wire.beginTransmission(slaveID);
Wire.write(request);
Wire.endTransmission();
delay(1);
Wire.beginTransmission(slaveID);
Wire.requestFrom(slaveID,2,true);
// Wire.endTransmission();
for (int i = 0; i < 2; ++i) {
rcv_bytes[i] = Wire.read();
}
bytes_to_int(rcv_bytes, counter);
}
void bytes_to_int(byte b[2], int counter) {
buttonstate[counter] = (b[0] << 8) + b[1];
}
[/php]